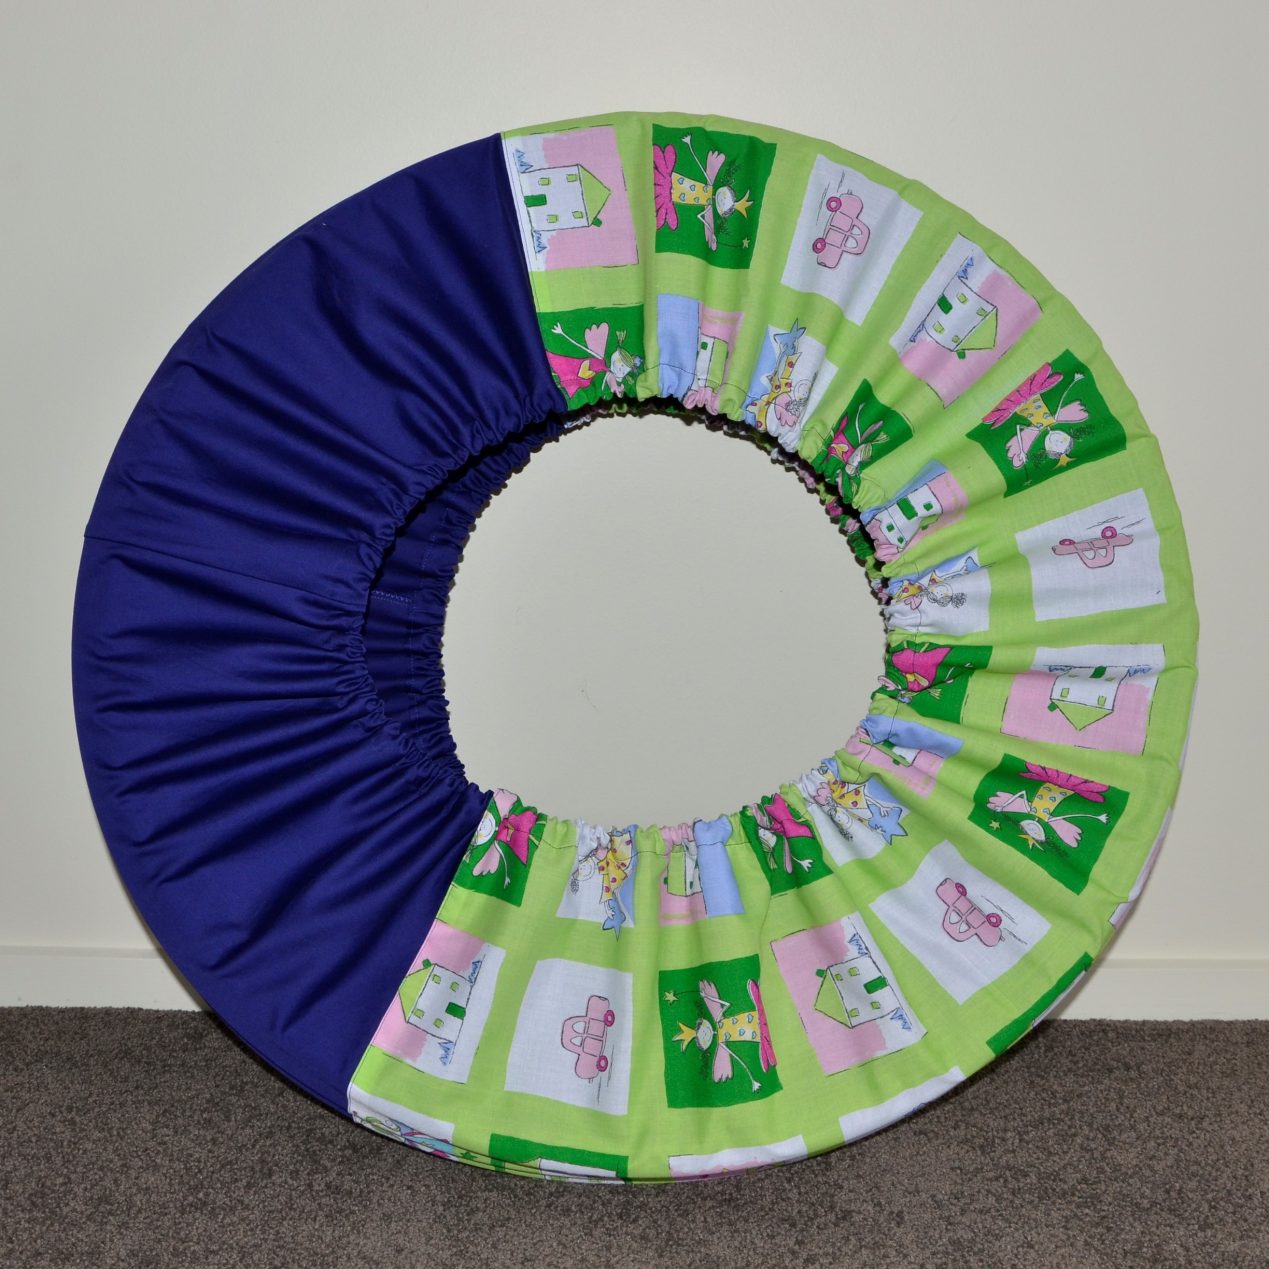
Fabric Hoop Huggies are an attractive and convenient way to store and transport multiple hoops. They are also relatively easy to make if you have a guide and access to a sewing machine. We can’t provide a sewing machine, but below is a guideline on how to make a Hoop Huggie to keep your hoops safe and tidy.
You will need a long section of fabric approximately 2.5-3 metres long, matching sewing thread, and approximately 4 metres of elastic cord
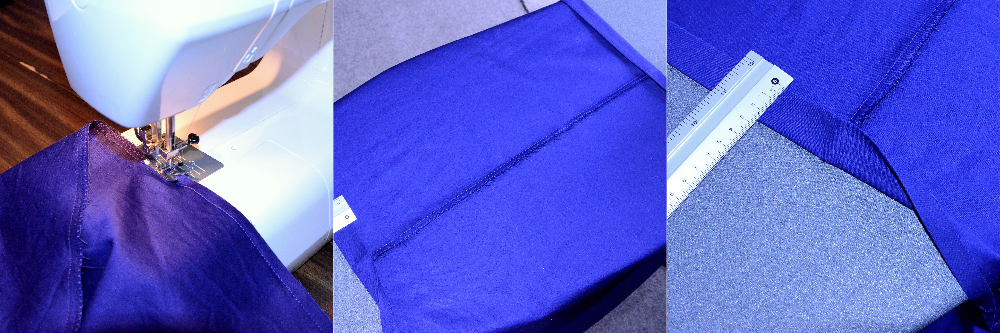
Step 1
Measure the diameter of the largest hoop you want to put in your huggie and then add  an extra 12cm for fitting and seam allowance. This will give you the total length for your base rectangle. For the width, gather the hoops you wish to store in your huggie and measure the combined width of the edge of the hoops i.e. lay the hoops on top of one another on the floor and measure from the floor to the top edge of the top hoop. Add 7cm seam allowance to this measurement and an amount for inner covering. If the hoops you wish to put in your huggie are all the same size then add 20cm which gives a 10cm inner covering. If your hoops are different sizes, then lay them on the floor nested inside each other evenly and measure the width from the outside edge to the inside edge of the smallest hoop, multiply this number by 2, and then add an extra 5cm to this measurement (plus the already mentioned 7cm seam allowance).
This will give you the length and width measurements for your base rectangle. You can cut this out of one single long piece of fabric, or stitch together several smaller pieces to make up the total length. The best type of fabric to use is a thick cotton. Measure and cut out your base rectangle.
Step 2
Fold the long rectangle in half length-ways and sew the edges together. Overlock or neaten the raw edges of the seam.
Step 3
Iron the seam so that it is lying flat in one direction. Fold up 1cm seam allowance along one width edge of what is now a fabric tube and iron this flat, then fold this over another 2.5cm so that the raw edge is tucked inside the fold and iron flat. You can fold the 1cm seam all along the width of the fabric and then fold up the 2.5cm seam, or you can iron the two folds in sections until you have completed the folds right around one edge of the tube. Repeat on the other width edge. Remember to ensure that the seam joining the two side of the rectangle stays facing the same way in the folds on both width sides of the fabric.
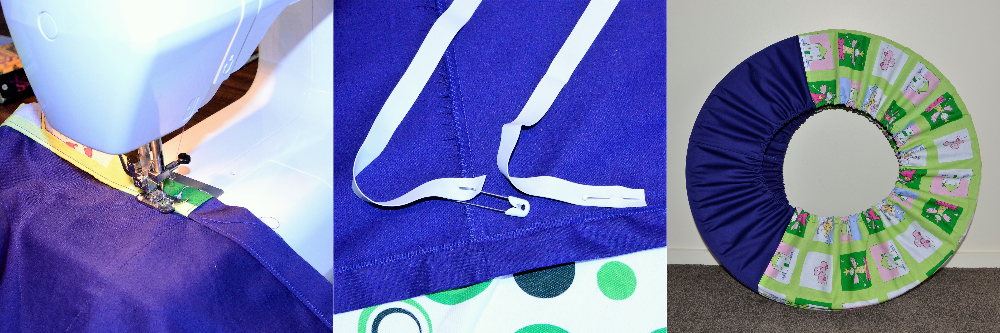
Step 4.
Sew along the very inner edge of the seam fold to form a pocket through which to thread the elastic. Leave a 3-4cm gap between the two ends of the stitching to allow a space to thread the elastic through. Repeat on both edges.
Step 5
Cut a length of elastic about the diameter of the finished hole in your huggie e.g. a circle about 10cm from the outer edge of your hoop if you allowed a 10cm inner covering edge. Pin one end of the elastic just above the gap in the edge stitching and put a safety pin through the other end. Use the safety pin to help you thread the elastic through the hole and then right around the seam pocket along the edge of the huggie. I used some elastic I already had but a thick elastic cord would be best because it will not get twisted. When you have threaded the elastic all the way around the edge pocket take out the safety pin and pin the end beside the other end just above the stitching gap.
Step 6
Put a hoop inside the huggie and then draw the two ends of elastic on one side together until the hole is the desired size, then tie the ends of the elastic together and trim the ends. Repeat on the other side.